How To Teach A Child To Ride A Bike
If you’ve just bought your little one their first kids’ bike, then you probably have a few questions when it comes to teaching them how to ride it.
Riding a bike is an important skill for any child to have. It can teach your little one how to become more independent, give them a sense of freedom- and of course help them let off some steam through exercise.
The process of teaching them might include a few bumps, scrapes and the occasional tantrum along the way, but all-in-all, it’s usually one of the most exciting experiences a parent and their child can experience together in their early years. With this in mind, we’ve put together a few super useful tips to help your kid get ready for the joys of riding a bike for the first time.
This article will cover:
- Everything you’ll need before getting started
- How to teach a child to ride a bike: step-by-step
- Our tips on how you can become a better teacher
Let’s get started!
What do I need before teaching my child to ride their bike?
To get them started smoothly, you’ll need:
A bike without stabilisers
Stabilisers can be useful when you’re trying to familiarise your child with pedalling, but the most important part of a riding a bike is getting a feel for the balance of the bike itself. Stabilisers don’t help you achieve this goal, so ditch them while you’re teaching your kid to ride for the first time! Either a dedicated balance bike, or a regular bike with removable stabilisers will work– just make sure you have something that fits your child comfortably.
A pedal spanner
You’ll need this to remove the pedals and reattach them as you move through the various stages of teaching.
A helmet for your child
Before your child starts pedalling away, it’s important that you kit them out with the right helmet. Choosing the wrong one is not only dangerous in the event of a fall, but it can also impair their vision while learning as well.
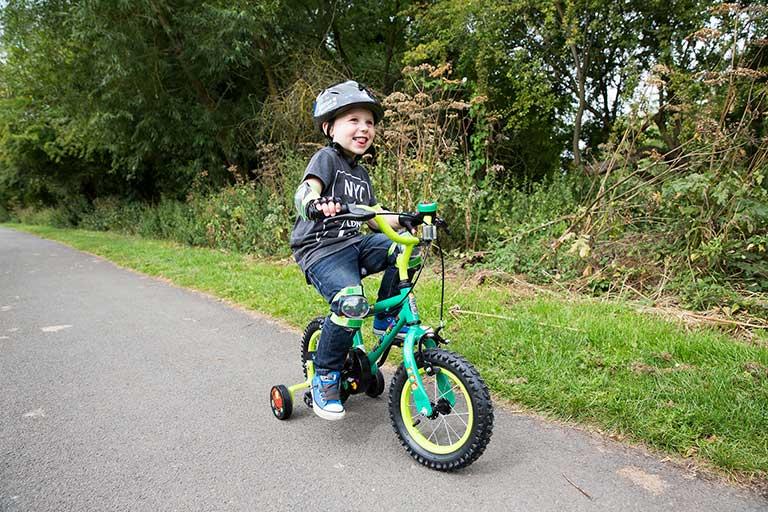
As a rule of thumb, your kid’s helmet should be level, with a gap of about an inch or two fingers between the eyebrow and the helmet. The straps and adjustments should also be firm, but not too tight that it’s uncomfortable for them. For extra help on how to get the right size, check out our guide on finding the right size kids bike helmet.
Knees and elbow pads
Knees and elbow pads are optional extras, however there’s a good chance your child will experience a little tumble or two while getting started – so it definitely can’t hurt to give them some extra protection. They may even find it comforting.
Those are all the physical things you need to get started, however there’s one more job to tick off before the main event begins.
Choosing the right location
If you take your child to a public park to learn to ride, they might not feel comfortable with other people around. Take this into account when choosing the best location to teach your kid to ride their bike.
You might want to start in your back garden or find a quiet route that allows them to concentrate and ride without pressure. It may feel more natural to get them to ride on grass first to help soften any falls, but the spongy surface can actually make it trickier for your child to grip and pedal properly. Instead, stick to tarmac as it’ll aid balance.
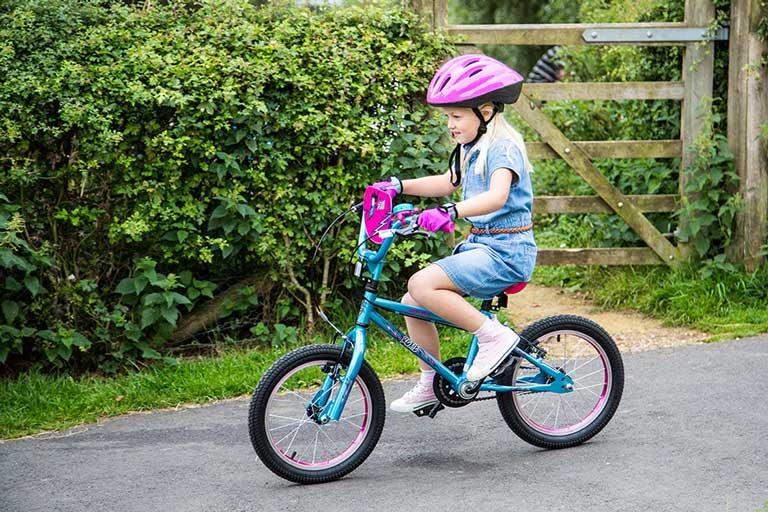
Once they’re feeling more confident, you can start to explore some of our favourite traffic free uk cycle routes.
Step-by-step: teaching your child how to ride a bike
Now, let’s run through the steps you should follow to make teaching a breeze. Ideally, you’ll start your child off on a slight downhill slope to make moving forward easier. Also, remember not to push them too hard straight away.
Step 1. Riding without pedals
First, lower the seat on your kids’ bike and remove the pedals. This will allow them to push themselves along using both of their feet. You might need to mark which pedals are left and right to make it easier when reattaching.
Next, show them how to use the brakes- and make sure they’re comfortable giving them a squeeze. With this newfound knowledge, you’re ready to put them into action.
Get your child to move forward around 30 feet, pushing themselves along and taking their feet off the ground where possible. Let them get the hang of it and ask them to use the brakes to get used to stopping – creating a sense of control. While your child is doing this, they’ll naturally pick up a feel for the balance of the bike- without having any real risk of falling over given they can still touch the ground with both feet.
Step 2. Riding with one pedal
When they’re seeming familiar with the brakes and general movement of the bike, it’s time to introduce pedals to their process- so start by putting one pedal back on the bike.
Then, make sure they’re comfortable and secure on the bike by getting them to hold onto the brakes and turn the handlebars left and right. Now, with one foot on a pedal, get them to push forward with the other foot for around 30 feet.
Make sure they’re looking up rather than fixing their view on the bike, which will help them get a natural feel for riding. Do this a few times until they’re comfortable.
Step 3: Using two pedals
Put the other pedal back on and get them to squeeze the brakes again. Holding them, not the bike, get them to put both of their feet on the pedals.
Make sure they’re ready, then get them to look forward, let go of the brakes, and start pedalling.
While they’re doing this, you should walk forwards while holding onto them – then gradually release your grip as they seem to get the hang of it.
Stop after around ten to fifteen feet and repeat this process until they seem to be building confidence.
Show them what they have achieved
You can now start getting them to hold the brakes while you count to three, then let them zoom off a little.
If you release your loose grip on them after a few steps, take a couple of steps back and shout ‘stop’ after 15ft. Then, let them see how much distance they’ve covered by themselves. This is likely to help build their confidence, and you can even pace out the distance by walking toward them so they can really see the extent of their achievement so far.
Beyond this, you can lightly hold their clothes with one hand and handlebars with the other, then release them after a few steps and allow them to ride for as long as they want. Hopefully, they’ll have cracked it at this point and will be riding along merrily.
Different children pick up riding at different speeds, so encourage them that they’ll get there eventually - even if they’ve had a rocky start!
Our teaching tips
A lot of parents focus on getting pedalling right from the start. However, the biggest challenge when it comes to learning to ride a bike is actually balancing. Try doing slow rides down small hills or slopes with their feet still on the pedals to see how your child balances. Once they get this part of it right, the pedalling process should naturally just happen without any major fuss.
For children up to 4 years old, a balance bike may be a better starting point. Balance bikes don’t have any pedals, so children can simply push along with their feet then glide on two wheels to practice balancing. Most kids find the transition to a proper bike much easier afterwards.
How to teach an older child to ride a bike
If your child is a little older and didn’t jump on the cycling bandwagon immediately, there’s a good chance they’ll pick up riding quite quickly. If, though, they seem to be struggling, you can try taking the pedals off their bike to start with, then building back up to pedalling later.
Older children may be a little embarrassed about having not learned to ride a bike sooner, so make sure you let them know that it’s perfectly normal that they aren’t riding just yet. At Halfords we encounter many cyclists who don’t start learning until they’re in their 30’s, 40’s or even older– it’s never too late!
Try using stabilisers
If your child is struggling to stay upright, then confidence could be a factor. This is where a pair of bike stabilisers can do wonders by letting them focus on building confidence while pedalling. Bike stabilisers simply attach onto the hub of the rear wheel and support your child’s weight on each side, removing any need to balance.
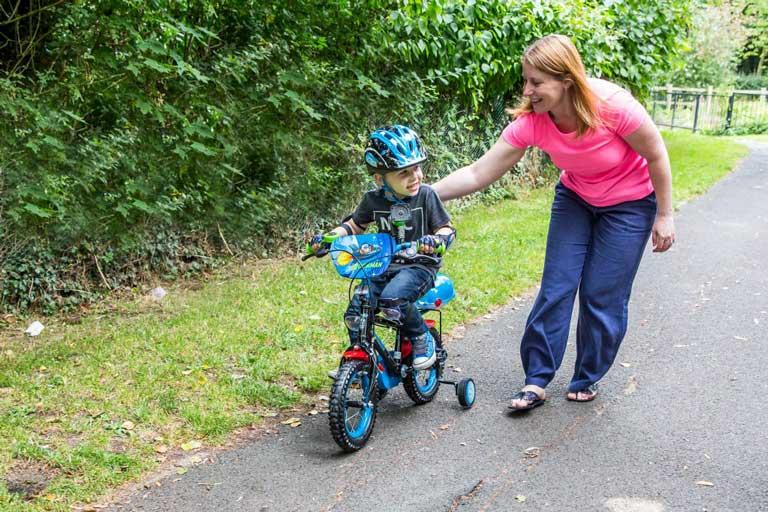
If you're worrying about how to teach a child to ride a bike with stabilisers, don't worry. The process is roughly the same as we've outlined in this guide so you'll still want to follow the key steps of letting them get a feel for the bike, choosing a good location, and supporting them gently as they learn to ride. In terms of stabilisers themselves, a set of Aide bike stabilisers can be attached to pretty much any kids bike - providing support as they figure out steering, control, and pedalling. You won’t need any additional tools and they can be adjusted depending on the size and shape of the bike.
Keep their eyes on the prize
When riding a kid’s bike, children can struggle to keep their eyes firmly focused on the path ahead as they’re drawn towards the parent trying to teach them. Ask learners to look at a certain object in front and just use their ears to listen to any instructions you need to give. This will help them pick up the art of balancing a lot more quickly.
Practice little and often
One of the most important elements to remember is to not overtire them. Trying to master the art of learning to ride a kid’s bike isn’t always easy, so encourage them to do it for small periods of time, but on a frequent basis.
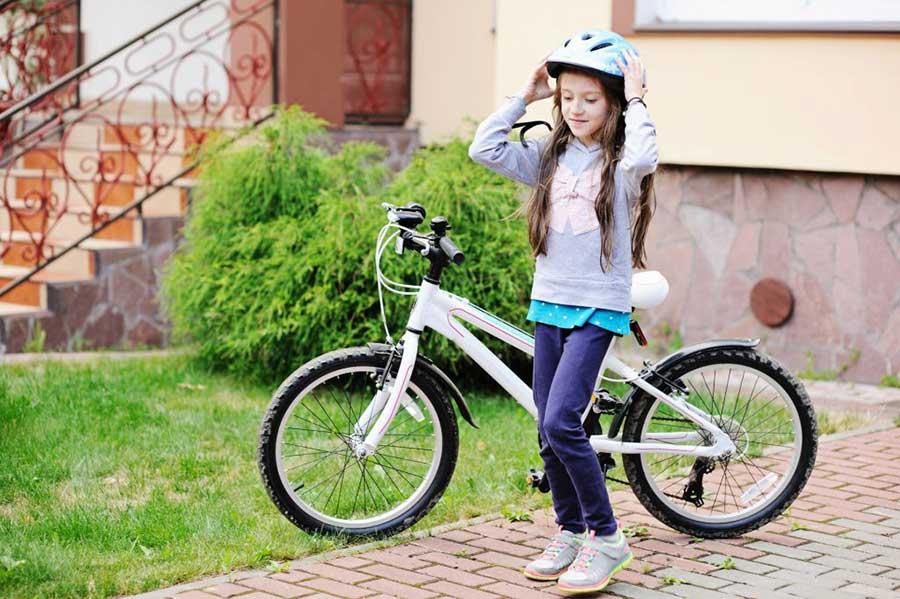
According to Cycling Weekly, it roughly takes a child around 45 minutes in total to learn to ride a bike. So, try breaking every lesson into 5 to 10-minute periods to keep their minds’ fresh and focused. After all, you don’t want your little one to do it for a longer time and start to feel disheartened. You should always help them finish on a high as well, by reminding them about all the great progress they made during that particular session.
Get some extra help
Once your little one is whizzing around on their bike, it’s always worth thinking about a few extra lessons to keep them safe when they embark on their next two-wheeled adventure. Here at Halfords, we work closely with instructors to help them run Bikeability – the UK’s government cycle education programme.
There are three fun levels for children to complete, all of which are designed to provide them with new skills, confidence and awareness when riding a bike.
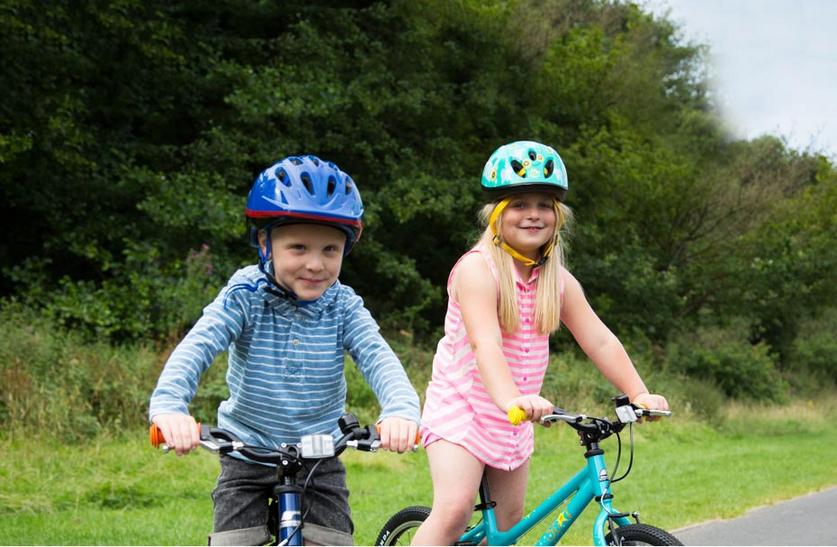
Learning how to ride a bike is a life lesson that we don’t forget. As adults, we may have mastered the complex skills needed to ride a bike, but for some kids it can be a challenge that may take some time. Enjoy the process and take pride in teaching a child how to ride a bike because you’re passing on to the next generation something that will bring them a huge amount of pleasure – and if they cycle a lot, a little leg pain and gain too!
If you want a little added extra for your little ones’ ride, check out all our kids bike accessories, lots of choice from water bottles to gloves, spokes to baskets and more – or if you haven’t decided on a brand new ride yet, check out our range of kids bikes.
Shop kid's helmets Shop kid's bike accessoriesGood luck!
